User Management in Ubiqod
What is a user in Ubiqod?
A user in Ubiqod is a person who accesses the Ubiqod management interface using their email address. When a user creates an account, they are automatically associated with an Account (representing an affiliated organization), based on the company or organization name provided during registration.

The person who scans QR codes or interacts with devices is referred to as the end user. They do not necessarily have an account on the platform.
Are users billed?
You can add as many users as you want. Ubiqod services are billed according to the price list, per tracker, not based on the number of users.
How to add users to an existing account?
To invite a user to join your account, go to the Account settings menu and then the Team tab. In the Invite a user section, enter the user’s email, first name, and last name, then click Invite.
The user will then receive an invitation email valid for 7 days. They must follow the instructions in this email to validate their account and be linked to the organization.

If the invited user already has an account on Ubiqod, they will simply need to accept the invitation by clicking the confirmation link received by email.
How do you switch between accounts?
When a user is associated with multiple accounts, they can navigate from one account to another using the Change account menu (accessible from Build or View by clicking on the user icon).
The user must then select the account they want to access and click the Change Account button.
User rights
There are two mechanisms for managing user access rights:
- At the global level, a user can be an administrator, a reader, or an editor. A reader can only view the data, while an editor can modify it. The administrator is the owner of the account, they can invite other users and update their rights.
- It is possible to restrict access to a set of trackers for certain users by using groups.
Organization Alerts
All users of the account can receive account alerts. Each user can individually choose the alerts they wish to receive by going to the Notifications section of the Account settings menu (Account tab).
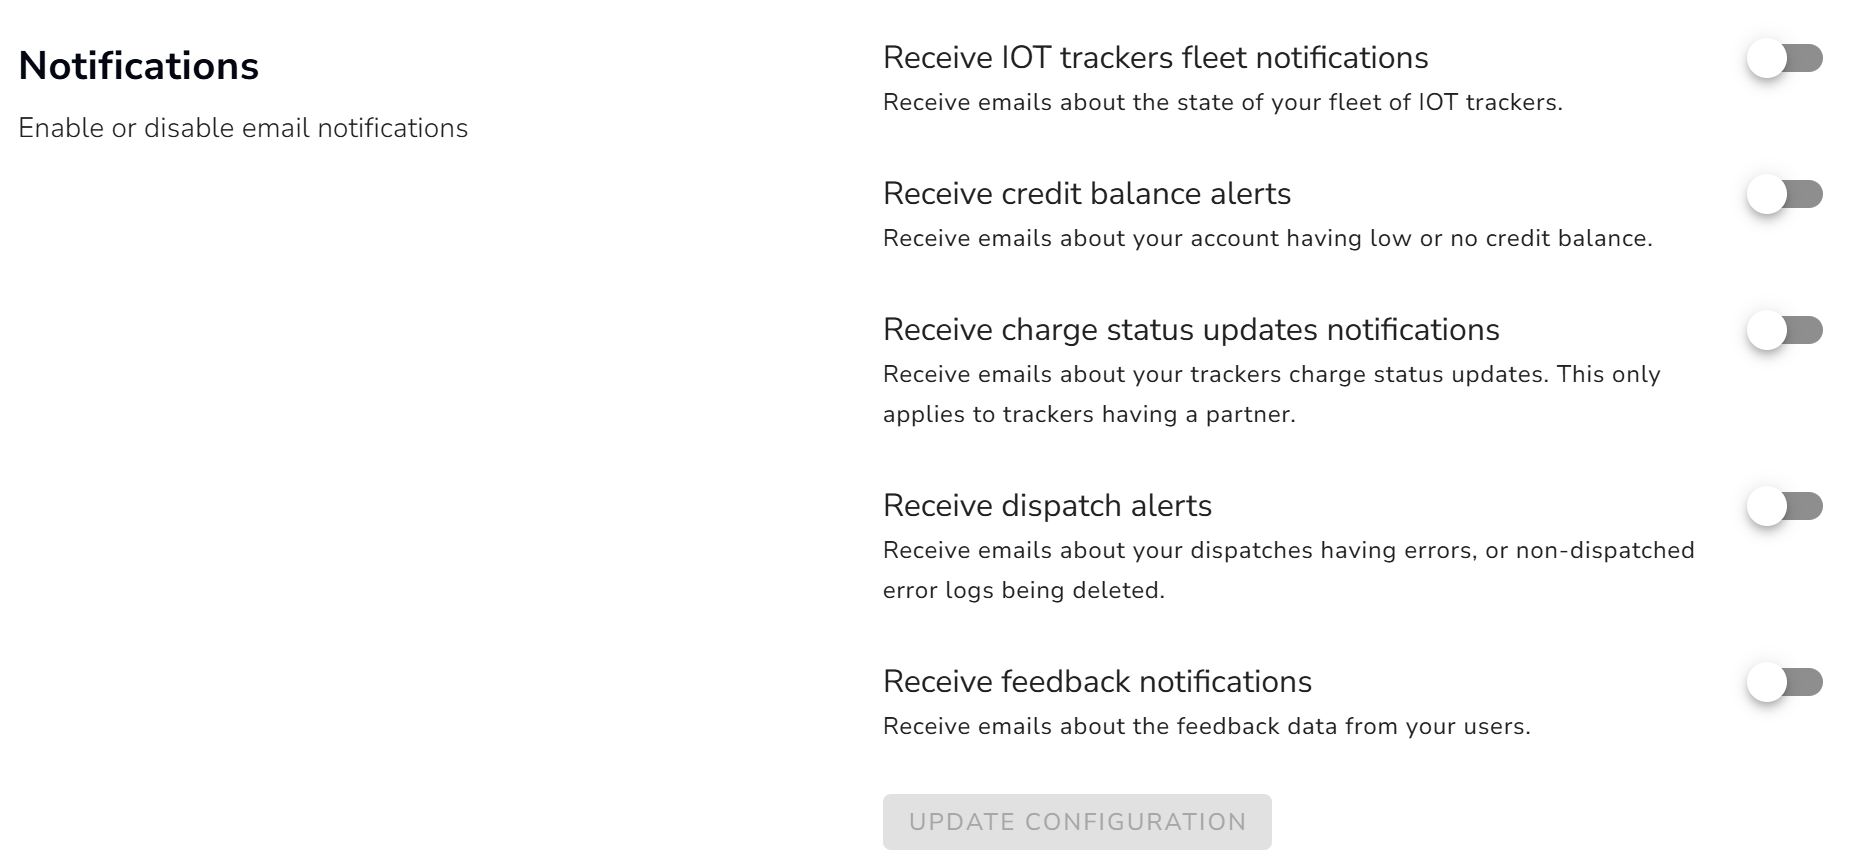
By default, all type of notification are activated.
Warning : This setting only apply too YOUR user account. Each user need to set up their wanted level of notification.Try Ubiqod
Get 100 free credits to start building with Ubiqod: sign up here
Related Articles
What is Ubiqod?
Welcome to Ubiqod – the new way to connect your field staff to your IT systems. Ubiqod provides a simple and efficient way to collect data from the field and integrate it with your preferred software, whether it's a Human Resources Information System ...What is a Badge List in Ubiqod?
Identify users with Badge Lists In the Ubiqod platform, a badge list allows you to associate a badge with a specific label or external reference, such as an employee ID. These badges can be RFID/NFC types like Clock S and Clock E, or active badges ...What is a PIN Codes List in Ubiqod?
Identify users with manual PIN codes and QR codes In the Ubiqod platform, PIN codes serve dual purposes: they can both identify users and secure form submissions. This functionality is exclusive to QR codes, including QODs and Ubiqod Keys. For ...Activate your SafeQod (formerly Ubiqod Key)
Introduction When you receive your SafeQod (formerly Ubiqod Key), the screen is blank and the batteries are not inserted. This precaution helps prevent screen burn-in and preserves battery life during transport. Make sure to follow the steps below ...What is a group in Ubiqod?
In the Ubiqod field tracking platform, Groups allow for the organization of tracker management. These groups serve two purposes: To group trackers for better monitoring, for example, by organizing them by geographical area, by client, or by contract. ...